Free AI upscaler comparison: UpgoLAB vs Upscayl vs Video2X vs Topaz
Four tools that do the same job in four different ways. Which one fits depends on whether you have a GPU, how long your clip is, and whether you are willing to install anything.
Quick answer
- No GPU, no install, short clip → UpgoLAB (browser, free during launch)
- Have a GPU, photos only → Upscayl (open source, local)
- Have a GPU, long video → Video2X (open source, local)
- Professional long-form work, willing to pay → Topaz Video AI
Comparison table
| UpgoLAB | Upscayl | Video2X | Topaz Video AI | |
|---|---|---|---|---|
| Runs in browser | Yes | No, desktop | No, desktop | No, desktop |
| Needs local GPU | No | Yes | Yes, Vulkan | Yes, strong GPU |
| Free tier | Yes, unlimited during launch | Yes, open source | Yes, open source | No |
| Photo support | Yes, up to 4 MP | Yes | No | Yes |
| Video support | Yes, up to 30 s | No | Yes, unlimited length | Yes, unlimited length |
| Content-specific presets | 8 modes | Several models | No | Some |
| Watermark on free | No | No | No | n/a |
| Works on phone | Yes | No | No | No |
| Setup time | None | Install + model download | Install + build | Install + licence |
What each one is actually good at
UpgoLAB — when you have no hardware
Runs on cloud RTX 5090/3090 GPUs, so the device you are holding does not matter. That is the whole point: a phone photo of a grandparent, or a 20-second clip pulled from a messaging app, can be fixed without buying a graphics card.
The constraint is real and worth stating plainly: 30 seconds per video file, 4 MP per photo. For longer files you have to split first (commands below).
Eight presets exist because content degrades differently. Compression blocks need a different treatment than sensor grain, and anime line art needs the opposite of what night footage needs.
Upscayl — best local photo upscaler
Open source, wraps Real-ESRGAN and similar models. Excellent for photos if you already own a capable GPU. No video support at all. A common choice for people restoring scanned prints.
Video2X — best local video upscaler
Free and open source, handles video of any length and also does frame interpolation. Requires a Vulkan-capable GPU and some patience with the build. The documentation is good; the setup is not trivial for non-technical users.
Topaz Video AI — the paid benchmark
Best-in-class for long-form professional work, with model choice per clip and mature handling of motion. The reason to avoid it is cost, and the reason to consider it is a 40-minute timeline you need to deliver today.
The part nobody tells you: order matters more than tool
Most guides say enlarge first. That makes the model learn the compression blocks and enlarge them too. The sequence that holds up:
- Denoise, targeting block artifacts rather than sensor grain
- Enlarge at most 2x per axis
- Inspect at 100% on the hair edge, not at fit-to-window
- Grade last
Past roughly 2x the model switches from reconstructing to inventing. Faces go waxy and small text turns into strokes that look like letters but are not.
Splitting a clip over 30 seconds
Cut at keyframes so the source is not re-encoded:
ffmpeg -ss 00:01:12 -to 00:01:38 -i input.mp4 -c copy segment.mp4Batch split:
ffmpeg -i input.mp4 -c copy -f segment -segment_time 30 -reset_timestamps 1 seg-%03d.mp4Rejoin without a second encode:
printf "file '%s'\n" seg-*.mp4 > list.txt
ffmpeg -f concat -safe 0 -i list.txt -c copy output.mp4
Results at 100% crop
Each of these is the model output, not a marketing render:


All eight content modes
Each preset targets a different kind of damage. These are the same photos the tool ships as demo material:
| 01 Natural |  |
| 02 Ultra Crisp |  |
| 03 Social Denoise |  |
| 04 Portrait Studio | |
| 05 Anime 2D | |
| 06 Cinema Vivid | |
| 07 Clear Reality | |
| 08 True Texture | 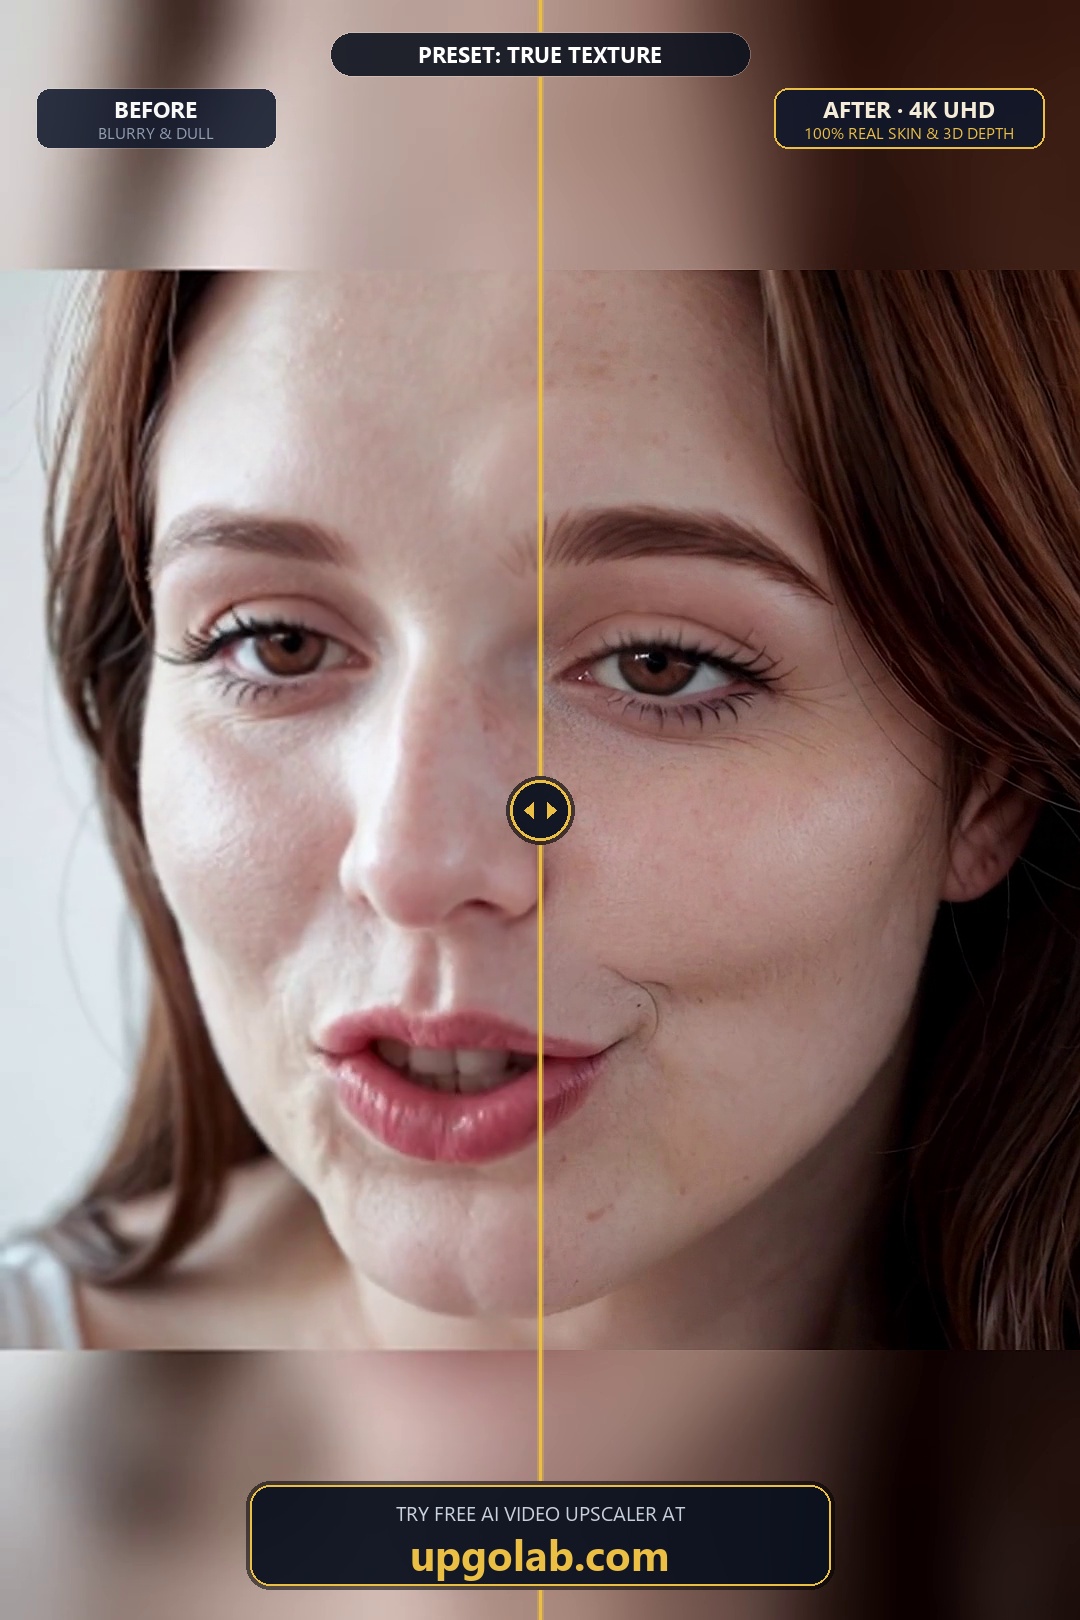 |
Frequently asked
What is the best free AI upscaler that runs in a browser?
UpgoLAB runs entirely in the browser with no install and no local GPU. Photos up to 4 MP, video clips up to 30 seconds, enlarging to 2K or 4K. Free during launch, no watermark.
Is there a free alternative to Topaz Video AI?
For short clips, UpgoLAB is free and needs no GPU. For long video on your own hardware, Video2X is free and open source but needs a Vulkan GPU. Neither matches Topaz on long-form work, but both cover the common case.
Can I upscale video without a GPU?
Yes, with a cloud tool. UpgoLAB processes on cloud GPUs, so any browser works including phones. The tradeoff is a 30 second cap per file.
What resolution should I upscale to?
At most 2x per axis. A 540p source at 2x lands at 1080p — enough for anything watched on a screen. Pushing 4K from a 480p source produces a larger file with the same real information.
Why does my upscaled photo look worse than the original?
Usually one of three things: denoising after enlarging (blocks already amplified), a single model used for both night grain and line art (opposite requirements), or judging quality at fit-to-window instead of 100% on an edge.